

Do you ever feel a pull to create something beautiful, something that captures the quiet majesty of a mountain or the busy energy of a city street? Many people find a deep satisfaction in making art. It's a way to express what you see and feel about the world around you, you know? Taking up a pencil and paper to make a picture of a place can be a really rewarding activity, so. It lets you see things in a new way and put your own spin on them, too it's almost like magic.
Maybe you've thought about trying to draw a scene, but you just weren't sure where to begin. That's perfectly normal, that is. A lot of folks feel that way when they're starting out with any new skill. The good news is that making pictures of natural settings or built environments doesn't have to be hard. There are plenty of simple ways to get going, and you might be surprised at how quickly you can make something you're proud of, pretty much.
This article is here to give you some easy ideas and helpful guidance for drawing scenes. We'll look at how you can make a picture of a place, from vast deserts to cozy riversides. You'll find ways to get inspiration and learn some basic steps that can help anyone, even if you've never picked up a drawing tool before, honestly.
Table of Contents
- Why Make Pictures of Places?
- Getting Started: Your First Steps in Making Pictures of Places
- Simple Ideas for Drawing Places to Get Your Creativity Flowing
- The Way It's Done: Making a Picture of a Place Step by Step
- Finding Your Own Way of Drawing and Getting Ideas
- Common Questions About Making Pictures of Places
Why Make Pictures of Places?
There's something truly special about drawing a scene. It's not just about putting lines on paper, you know. It's about really seeing the world around you, noticing the way light hits a mountain or how a city street curves. For many, it's a calm and thoughtful activity, a chance to slow down and really observe, you know, what's there.
Making pictures of places can also be a wonderful way to keep memories. Think about a trip you took, maybe a road trip with mountains, deserts, and cities, as my text says. Drawing those scenes helps you remember the feelings and sights of that time. It's a personal record, a bit like a visual diary, actually.
And for those who are just starting, it's a fantastic way to build basic art skills. You learn about how things look far away versus close up, how light and shadow work, and how to make things appear solid on a flat surface. These skills carry over to all sorts of other art forms, too, you know.
Getting Started: Your First Steps in Making Pictures of Places
So, you're ready to pick up a pencil? That's great! The first steps are often the hardest, but once you get going, it gets much easier. For those who are just beginning, we will learn the basic process of drawing a scene broken up into three main sections, as my text mentions. It's all about making it simple and manageable, you know, rather than overwhelming.
Basic Tools You'll Want
You don't need a lot of fancy equipment to start making pictures of places. In fact, you can probably get started with things you already have around the house. A simple pencil, some paper, and an eraser are really all you need, pretty much. Some people prefer pens, especially for quick sketches or when they want a strong line, just a little.
For paper, anything from a regular notebook to a sketch pad will do. If you're using pens, you might want slightly thicker paper so the ink doesn't bleed through. But honestly, any paper is good paper when you're just practicing, you know. It's more about getting the lines down than having perfect supplies, in a way.
A good eraser is also helpful. Mistakes happen, and that's totally fine! An eraser lets you fix things up without having to start all over again. It's part of the process, actually, learning to correct as you go, and that's okay.
Seeing the View Clearly
Before you even put pencil to paper, take a moment to really look at what you want to draw. This is a very important step. Notice the general shapes, the big parts of the scene. Is there a big hill? A wide river? A tall building? Try to see these as simple forms first, like squares, circles, or triangles, you know.
Think about where the eye naturally goes in the scene. What's the main thing you want people to notice? This helps you decide what to focus on and what can be less detailed. It's about setting up your picture so it tells a story, more or less, and that's quite helpful.
Also, consider where the light is coming from. Is it sunny? Cloudy? This will affect how things look later when you add dark and light areas. Just observing these things for a minute or two can make a big difference in your drawing, it really can.
Simple Ideas for Drawing Places to Get Your Creativity Flowing
Sometimes, the hardest part is just figuring out what to draw. My text mentions 42 easy landscape drawing ideas for beginners, and simple landscape drawing ideas to get started today. There are so many things to choose from! The trick is to pick something that interests you and doesn't feel too overwhelming. You can find inspiration for your next landscape sketch just about anywhere, basically.
Drawing from Road Trips: Hills, Dry Lands, and Towns
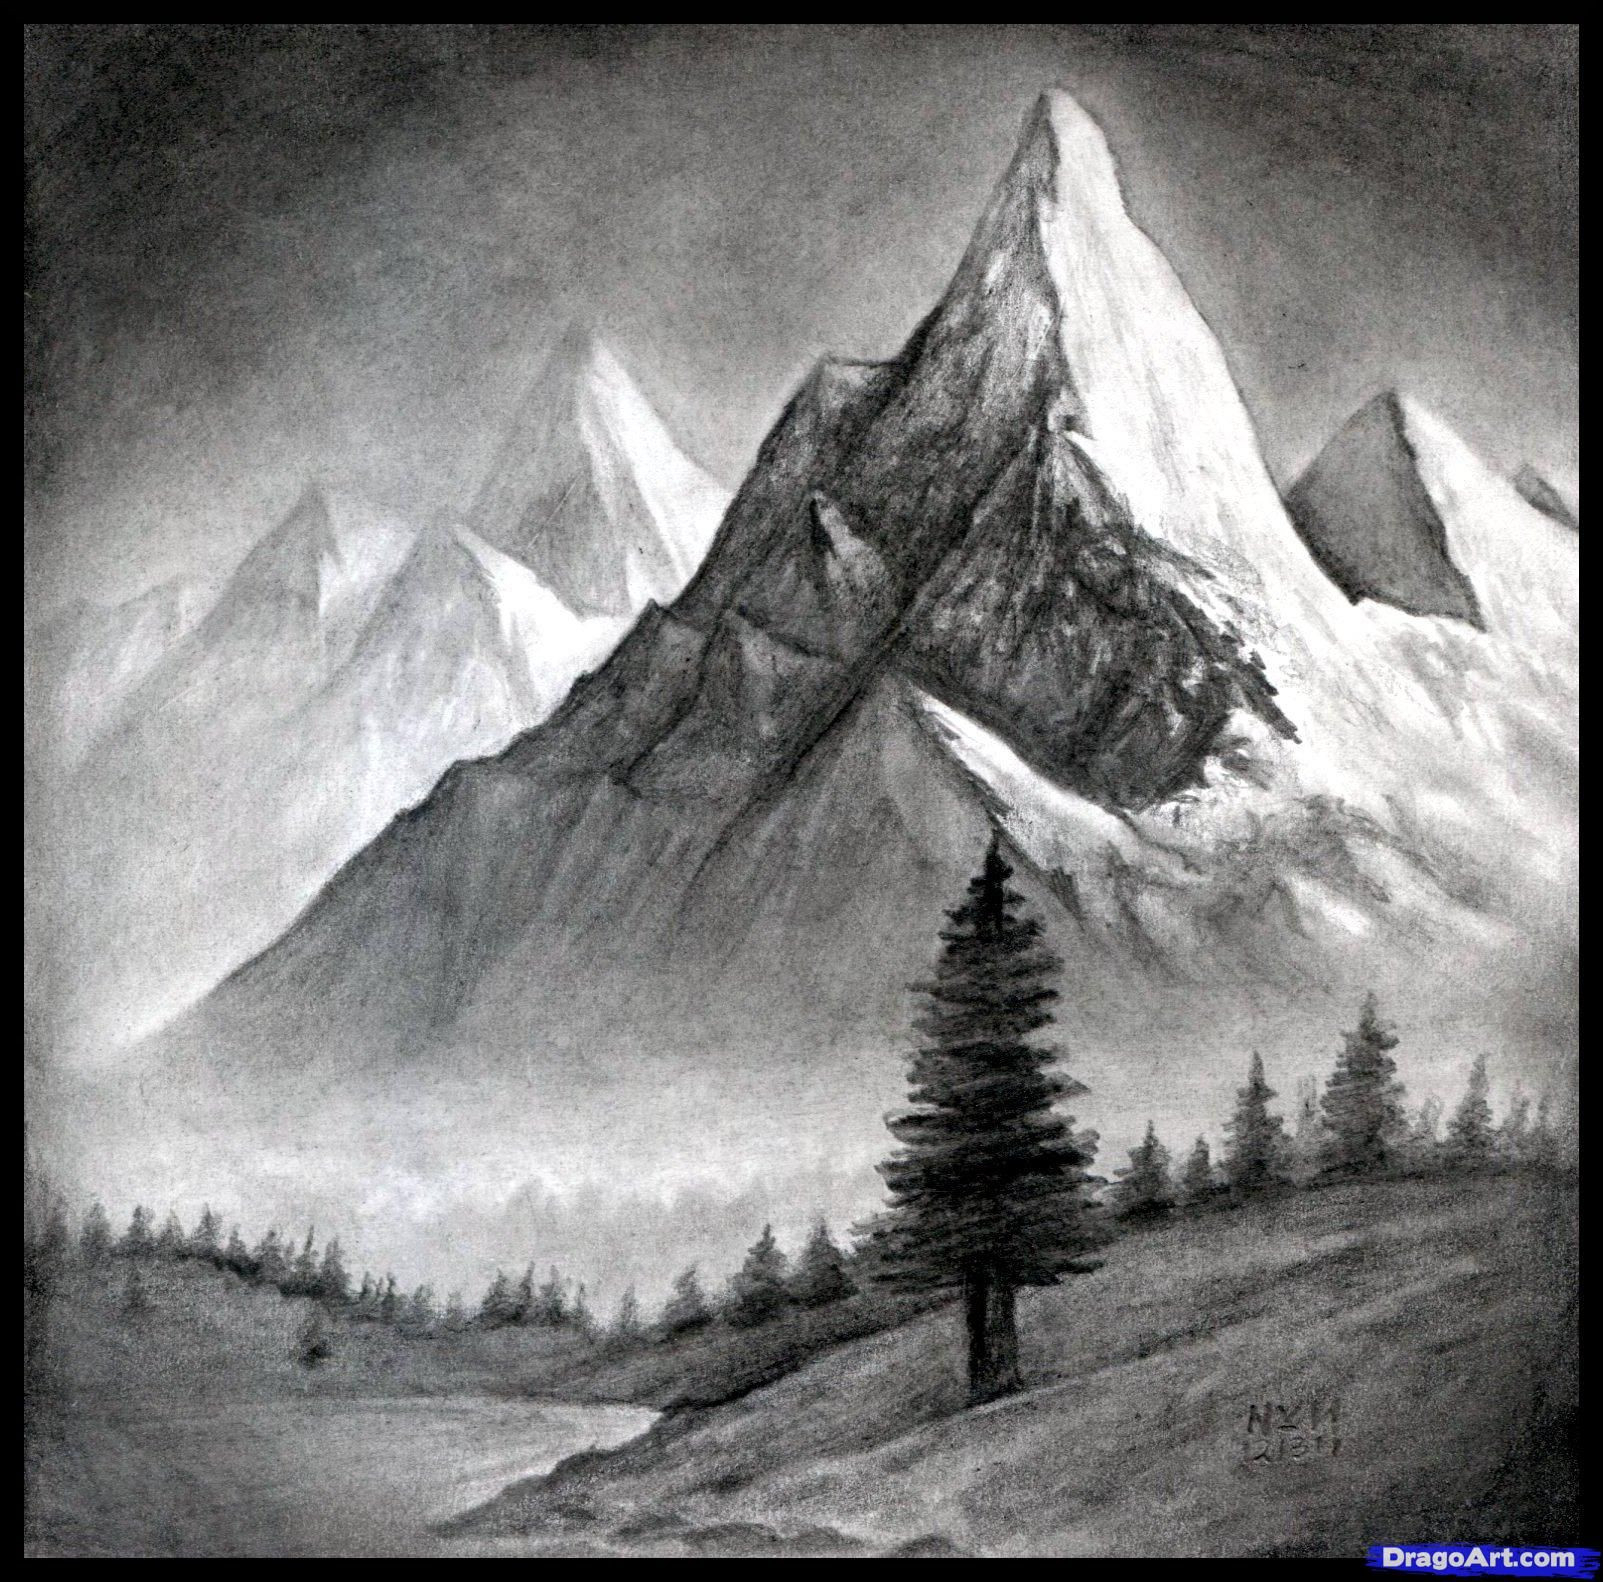
Think about the places you've seen while traveling. My text suggests drawing a pen landscape from a road trip with mountains, deserts, and cities. These are fantastic subjects because they offer such variety, you know. A mountain range might have jagged peaks and soft slopes, while a desert could have rolling dunes and sparse plants. A city scene might show tall buildings, busy streets, and lots of small details, just a little.
When drawing from a road trip memory or photo, try to capture the feeling of the place. Was it peaceful? Exciting? What colors or shapes stood out to you? You don't have to draw every single thing; sometimes, just a few key elements can really bring the scene to life, pretty much.
You could even try drawing from different viewpoints. Maybe from inside the car looking out, or from a high point looking down. This helps you explore different environments and styles to create your own unique pictures, as my text says. It's a way to make the drawing truly yours, so.
Natural Parts: Trees, Blossoms, Rivers
Nature offers endless subjects for making pictures of places. My text notes that landscape plans include natural elements like flowers, trees, and grass as well as a realistic landscape with a small river. These are wonderful starting points for beginners because they have interesting shapes and textures, you know.
Try focusing on just one tree first. Notice how its branches spread out, how the leaves cluster, or how its bark looks. Then, maybe add some grass around its base, or a few simple flowers. You can even try drawing a small section of a river, paying attention to how the water seems to flow and reflect the sky, that is.
Drawing natural elements helps you practice making different kinds of lines and textures. A tree branch needs a different kind of line than a soft patch of grass, for instance. It's a good way to build your skills bit by bit, and you can always add more complexity later, you know, as you get more comfortable.
The Way It's Done: Making a Picture of a Place Step by Step
Breaking down the process makes it much easier to tackle. In this landscape drawing for beginners, we will learn the basic process of drawing a landscape broken up into three main sections, as my text states. This approach helps you build your picture layer by layer, so it doesn't feel like too much all at once, pretty much.
Putting Down the First Lines
Start with the big shapes and the general layout. This is like creating a floor plan for your picture. Like a floor plan, a landscape design creates a visual representation of a site using scaled dimensions, as my text mentions. Even though we're drawing, thinking about how things fit together in space is very helpful, you know.
Lightly sketch in the horizon line – where the sky meets the ground. This is your most important guide. Then, place the biggest elements: the outline of a mountain, the general shape of a building, or the path of a river. Don't press hard; these are just your guide lines, you know, meant to be adjusted.
You're basically mapping out where everything will go. Think of it as creating a simple skeleton for your picture. It doesn't need to be perfect at this stage, just get the main ideas down. You can always refine these lines later, in a way, as you add more detail.
Adding Small Bits and Surface Looks
Once your basic shapes are in place, you can start adding the smaller parts. This is where your scene begins to feel real. If you're drawing a tree, now you can add individual branches and hints of leaves. For a city, you might put in windows, doors, or streetlights, you know.
Think about the different surface looks, or textures. How does a rocky hill feel? How does a smooth river look? You can use different kinds of lines to show these things. Short, broken lines for rough surfaces, or long, flowing lines for water, for instance. It shows how to draw step by step a realistic landscape with a small river, as my text says, and that's a good way to approach it.
Don't try to draw every single leaf or every brick. Your eye can suggest these things without you having to draw them all. Pick a few key areas to add more detail, and let the rest be simpler. This makes your picture more interesting and keeps you from getting bogged down, pretty much.
Making It Seem Real with Dark and Light
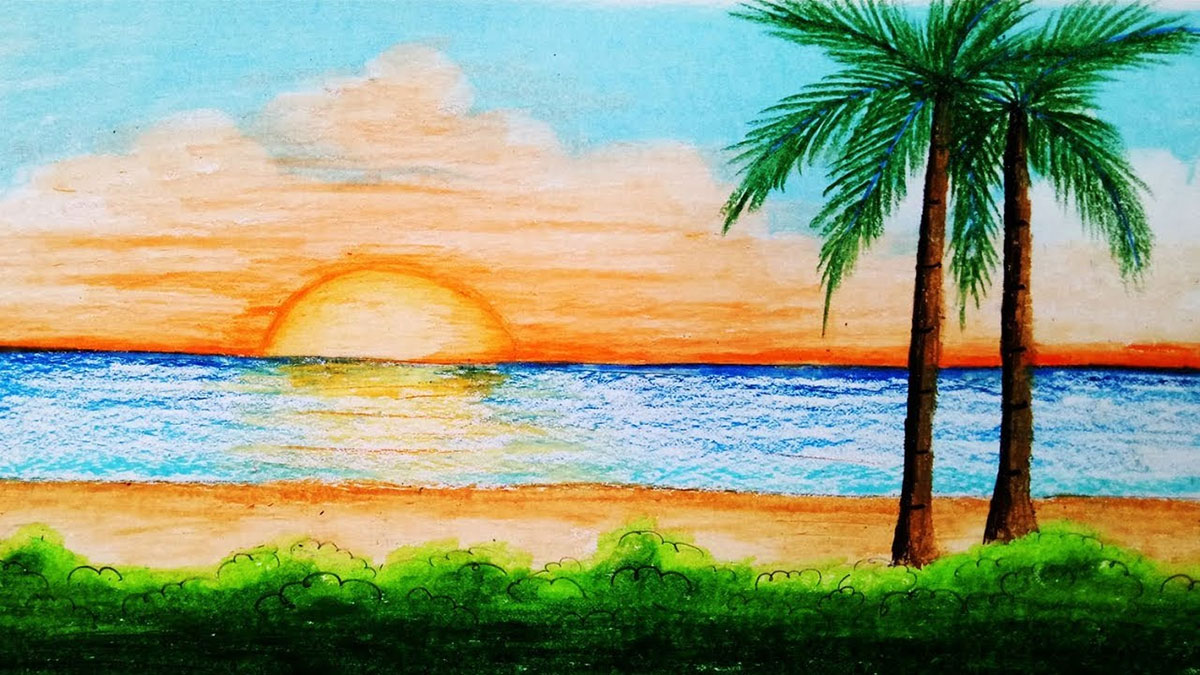
This is where your picture really comes alive. Adding dark and light areas, also known as shading, gives your drawing depth and form. Think about where the light source is. Is the sun high in the sky? Is it setting? This will tell you which parts of your objects will be brighter and which will be in shadow, you know.
Use your pencil to create different levels of darkness. Press lightly for light areas and more firmly for dark ones. You can also use cross-hatching (drawing lines in different directions) to build up darker tones. Remember, shadows aren't just dark; they also help define the shape of things, in a way.
Practice making smooth changes from light to dark. This makes things look rounded and solid. Even a simple scene can look much more compelling with good use of dark and light. It's a skill that takes some practice, but it's very rewarding when you get the hang of it, you know.
Finding Your Own Way of Drawing and Getting Ideas
Every artist has their own way of seeing and drawing things. As my text says, with these landscape drawing ideas, you can explore different environments and styles to create your own. Don't feel like your drawings have to look exactly like someone else's. Your unique view is what makes your art special, honestly.
Try different tools. Maybe you love the crisp lines of a pen, or the soft blends of a pencil. Perhaps you like adding a touch of color with colored pencils or watercolors. Experimentation is a big part of finding what works for you, you know. It's a personal journey, after all.
Look at other artists' work for ideas, but don't copy them directly. See what you like about their style and try to bring elements of that into your own work. The more you draw, the more your personal style will show through, basically. It's a process that develops over time, and that's okay.
Keep a sketchbook with you. You never know when inspiration might strike! A quick sketch of a tree you see on a walk, or a mountain range in the distance, can be a great way to capture ideas for later. Find inspiration for your next landscape sketch everywhere you go, you know. It's about being observant, more or less.
Common Questions About Making Pictures of Places
What are the basic elements of a landscape drawing?
When you're drawing a scene, you'll typically think about a few main parts. There's usually a horizon line, which is where the ground meets the sky. Then you have the foreground, which is closest to you, the midground in the middle, and the background, which is furthest away. These sections help give your picture depth, you know. You also consider things like perspective, which makes distant objects appear smaller, and light sources, which create shadows.
How do you make a landscape drawing look realistic?
Making a picture of a place look real involves a few techniques. One big part is getting the proportions right, so things look the right size compared to each other. Adding details, especially in the foreground, helps a lot. Using a range of dark and light tones (shading) is also very important, as it gives objects a sense of form and makes the scene feel three-dimensional. Also, paying attention to textures—like rough bark or smooth water—can really make things pop, you know, and that's pretty cool.
What materials do I need for landscape drawing?
You don't need much to get started, honestly. A simple graphite pencil (maybe a few with different hardness levels like 2B, HB, 2H), an eraser, and some paper are your basic tools. Many people also like to use pens for their crisp lines. If you want to add color, colored pencils or watercolors are good options. Really, the most important "material" is your willingness to observe and practice, you know, that's the main thing.
Keep practicing, and you'll see your skills grow with every picture you make. There are so many ways to explore the world through your art. You can always book a free consultation to see how we use 3D visualization, which can give you ideas for how to approach a scene, you know, or learn more about art techniques on our site. And to see more examples, you can check out famous landscape drawings at a museum site, and link to this page . We design projects of any size, for every budget, any garden style, for new and seasoned artists alike, and that's something to think about.

Detail Author:
- Name : Susana Waters II
- Username : woodrow.bergstrom
- Email : grayce65@yahoo.com
- Birthdate : 1977-11-09
- Address : 75411 Fritsch Corners New Rexshire, OR 91221
- Phone : 1-575-619-5058
- Company : Jast Inc
- Job : Nuclear Medicine Technologist
- Bio : Fuga est aperiam asperiores. In eos provident qui doloremque commodi dignissimos et quas. Consequatur quo ut veritatis ut.
Socials
twitter:
- url : https://twitter.com/titus_grimes
- username : titus_grimes
- bio : Sit facilis sed sint aliquid velit qui. Quo sed neque corporis ad nemo eaque sint. Est doloribus nihil repellendus ut non molestiae dolor.
- followers : 189
- following : 1371
linkedin:
- url : https://linkedin.com/in/titus.grimes
- username : titus.grimes
- bio : Iste sunt quas beatae nihil quaerat quaerat.
- followers : 2388
- following : 1534


 Bonus
Bonus